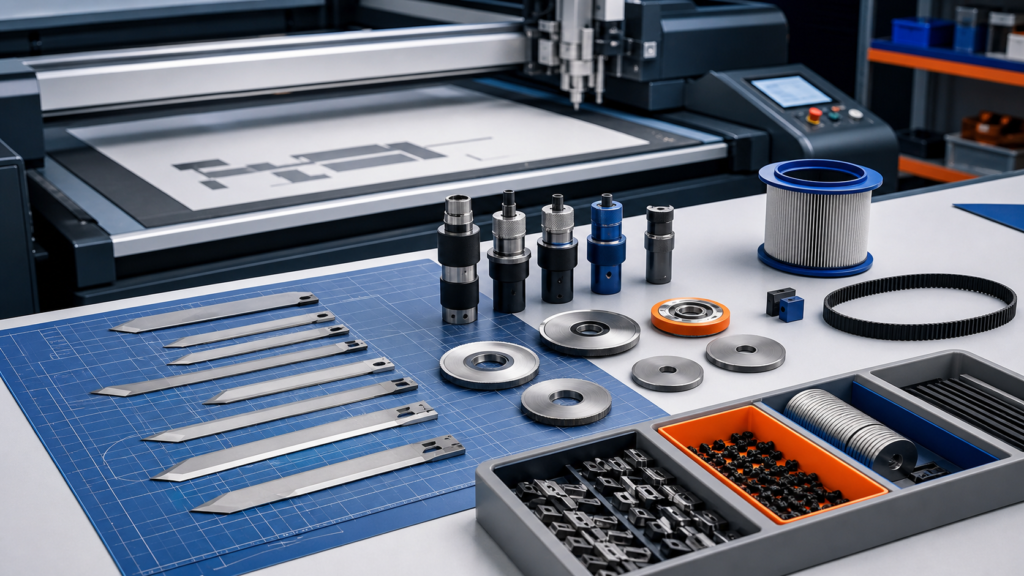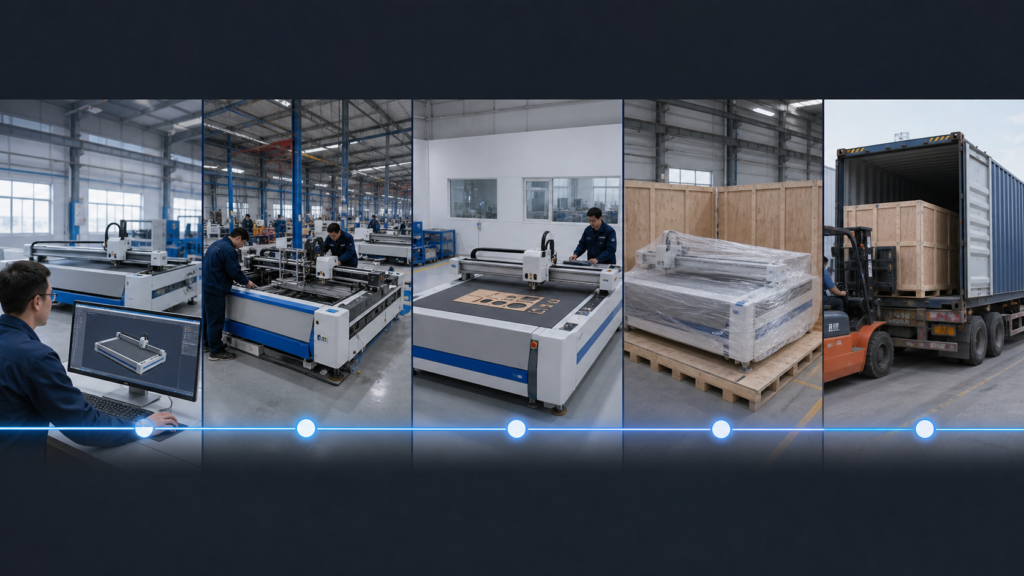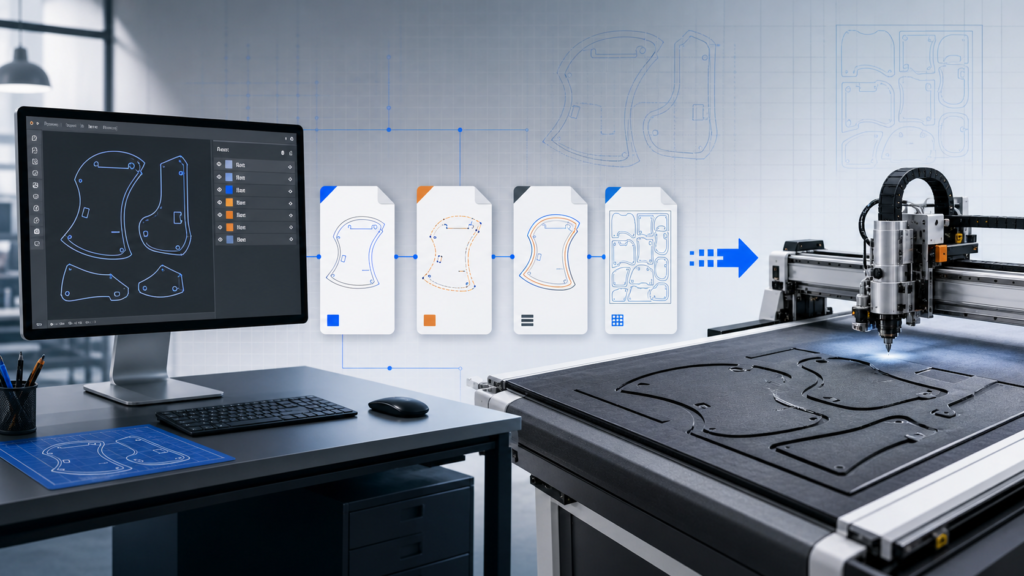
A leather cutting sample test needs to protect the visible surface while proving edge quality, geometry and repeatability. This evaluation uses real JEKE leather and sample photographs as process evidence. It does not assign a customer identity or invent production figures that are not present in the source material.
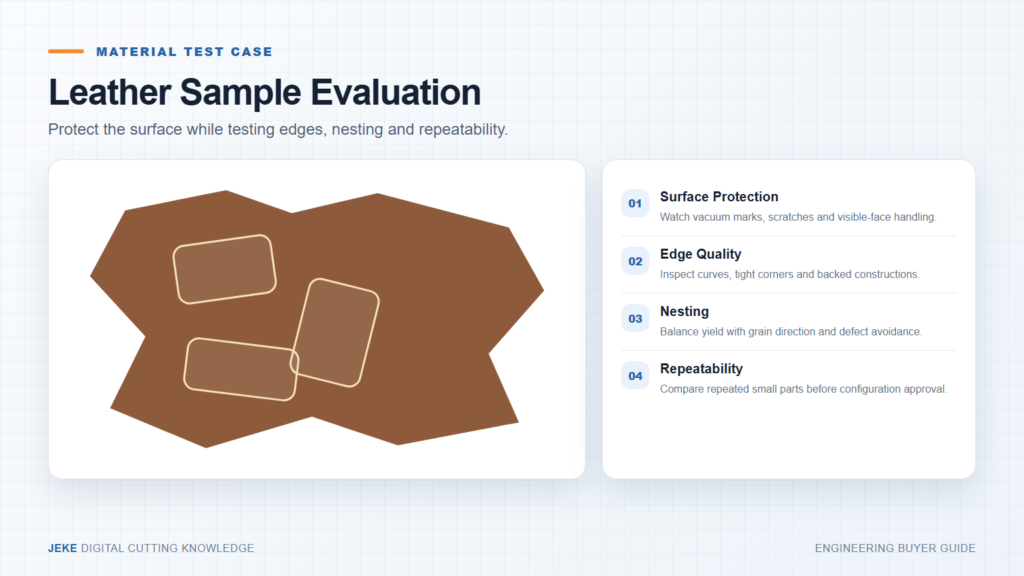
Build a specimen set that represents leather variation
One clean square is not representative. Include the normal thickness range, backed or laminated constructions, visible color surfaces and areas with natural variation when relevant. Mark the grain or production orientation and identify the face that must remain protected.
For bags, shoes and automotive interiors, add real production geometry: long curves, tight internal corners, small repeated pieces, notches and marking positions.
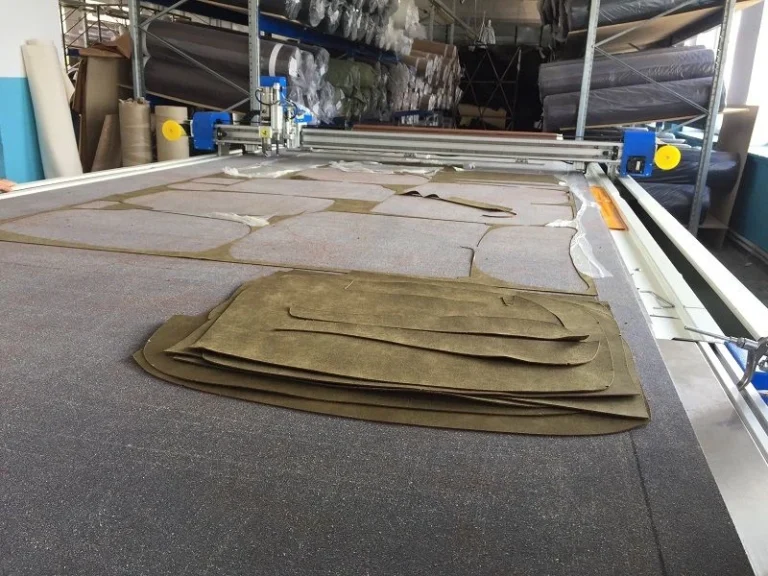
Protect the surface before optimizing output
Clean the working surface and check whether vacuum openings, debris or dragging can mark the leather. Record whether the material is placed face up or face down and whether a protective layer changes hold-down. If a surface mark appears, preserve it in the evidence instead of photographing only the unmarked section.
Inspect edge quality around difficult geometry
Use straight cuts, broad curves, tight corners and small openings. Look for pulling, incomplete corners, a rough backed edge, stretch and variation between the entry and exit of a curve. Record the tool and blade because synthetic leather, genuine leather and reinforced upholstery materials can require different settings.
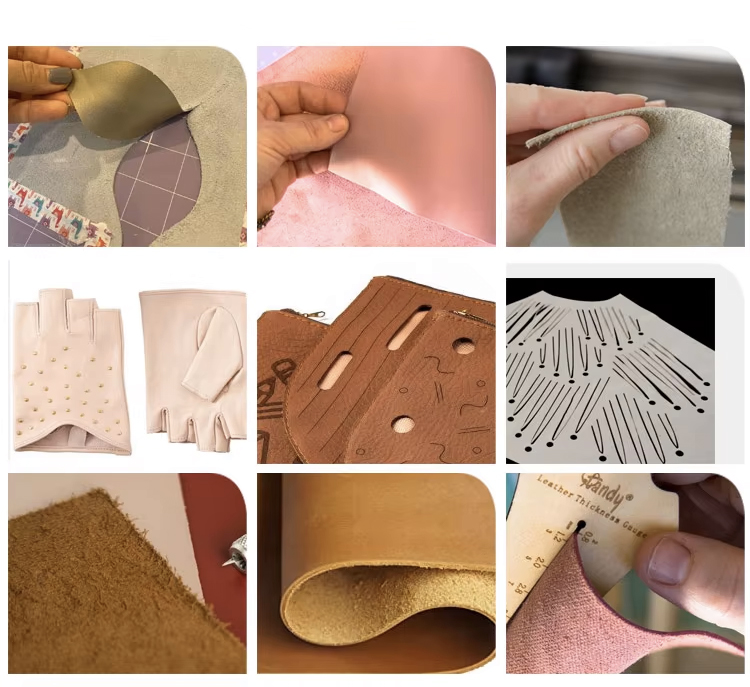
Evaluate nesting as a material decision
Nesting is not only about placing the most shapes on a sheet. The operator may need to respect grain direction, visible defects, paired parts and marking orientation. The test should distinguish software capability from the production rules required by the product.
| Test area | Evidence | Configuration implication |
|---|---|---|
| Surface | Face-side photographs before and after cutting | Handling and hold-down method |
| Edge | Close-ups of curves, corners and backing | Tool, blade and process setting |
| Nesting | Layout showing direction and excluded defects | Software workflow and operator rules |
| Marking | Position and visibility on the correct face | Marking tool and process layer |
| Repeatability | Several labeled parts compared together | Production stability and quality plan |
Repeat small parts before approving the configuration
Small pieces can reveal movement and blade behavior that a large panel hides. Cut repeated parts in different table positions and compare critical dimensions, notches and edge appearance. If material variation affects the result, state that clearly and define how operators will inspect future work.

Turn observations into a buyer decision
The recommendation should identify working area, feeding method, tool and blade, nesting or marking workflow, surface-handling precautions and any material variant still requiring a test. Avoid treating one leather sample as proof for every bag, shoe or automotive construction.
Use JEKE’s leather cutting machine selection guide, rotary versus oscillating knife comparison and CNC leather cutting machine page for additional context. Send JEKE a leather sample, drawing and visible-surface requirement to define a documented test.