
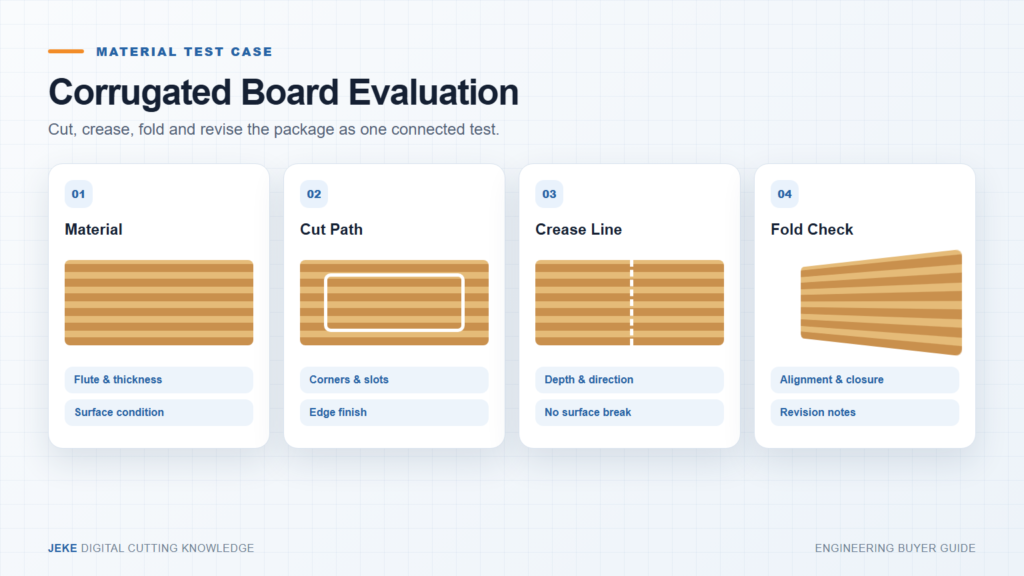
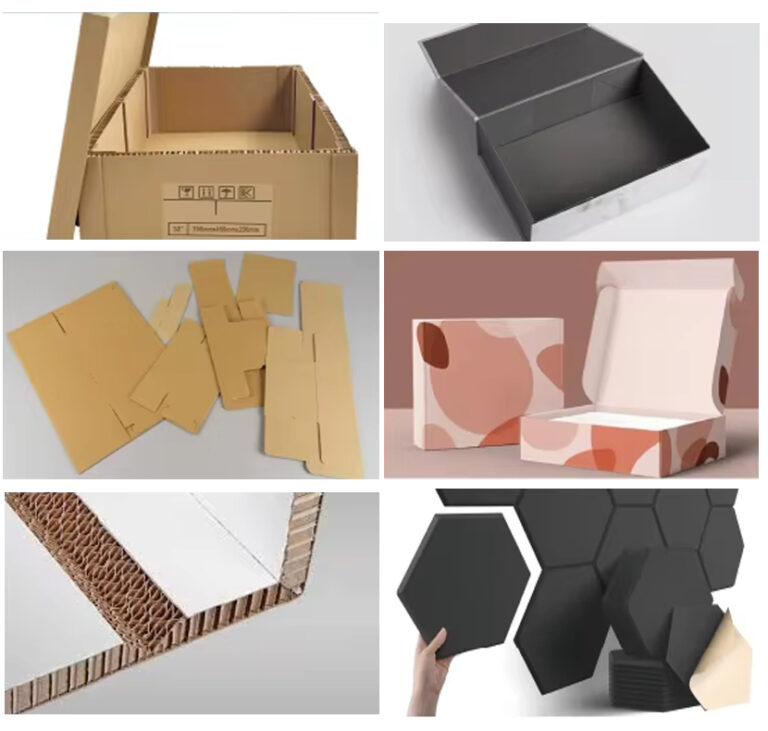
A corrugated board cutting test is not complete when the shape comes off the table. The sample must cut cleanly, crease without unacceptable surface damage, fold on the intended lines and close as the packaging design requires. This article documents that connected evaluation using real JEKE corrugated material and box-sample images.
Identify the board and flute direction
Record board grade or construction when known, total thickness, liner condition, flute direction, warp and sheet size. Mark the printing or visible face. Two sheets with similar thickness can crease and fold differently because of flute and liner construction.

Use a test file that connects cutting and creasing
Include outside cuts, slots, tabs, small radii, crease lines in more than one orientation and the closing features used by the package. Separate cut and crease layers clearly. State file units and revision so the folded sample can be traced back to the design.
If the job involves printed board, add the print-to-cut alignment requirement. A plain-board geometry test does not prove camera registration on printed sheets.
Inspect the cut before folding hides the evidence
Check the top and underside for incomplete penetration, liner tearing, crushed flute, corner overcut and loose fibers. Note which direction each edge runs relative to the flute. A single tool setting may not behave identically across every direction and feature.
Evaluate the crease as a controlled deformation
The crease should guide folding without cutting through the liner or crushing a wide uncontrolled zone. Record wheel or tool used, process setting, crease direction and visible result. Test both the face and reverse side where the package design requires different folds.
| Evaluation stage | What to inspect | Why it matters |
|---|---|---|
| Material | Thickness, flute, warp and surface | Defines the test condition |
| Cutting | Penetration, corners, slots and underside | Confirms complete clean separation |
| Creasing | Depth, line position and liner condition | Controls the fold instead of damaging it |
| Folding | Panel alignment, tabs and closing geometry | Tests the package as an assembled object |
| Revision | File change, new sample and reason | Creates a traceable prototype loop |
Fold and assemble the sample
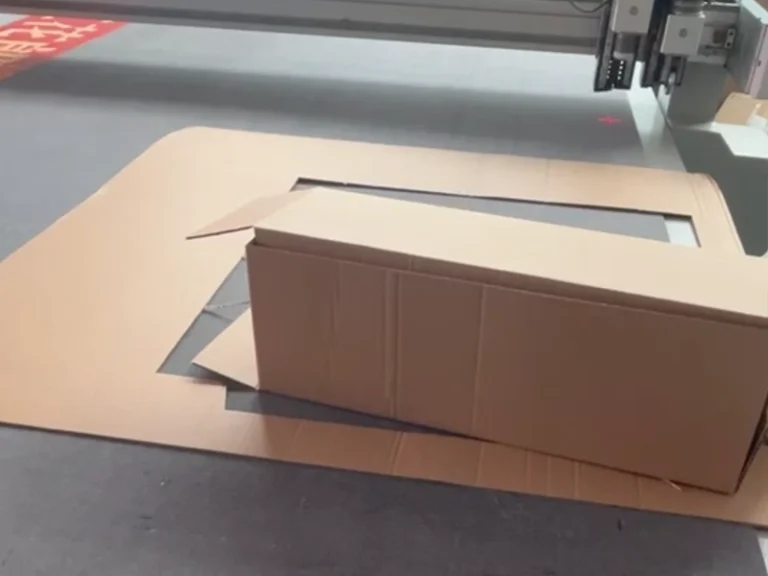
Fold every designed panel in sequence and check whether crease lines guide the board naturally. Inspect panel alignment, tab entry, closure, squareness and any product-fit requirement. Photograph the flat sample and assembled sample using the same revision identifier.
Use revision evidence instead of hiding the first attempt
If a tab, crease or slot needs adjustment, keep the initial observation, update the file revision and identify what changed. The speed of digital prototyping comes from controlled iteration, not from claiming that every first sample is correct.
Connect the sample to machine configuration
The conclusion should identify usable table size, cutting and creasing tools, camera requirement for printed work, hold-down, file workflow and the board range actually tested. It should not imply that one board sample proves all corrugated grades.
Continue with JEKE’s packaging prototype workflow, corrugated box sample cutter guide and cardboard box sampling machine. Browse the digital die-cutting machine category or send JEKE the board, dieline and folding requirement.