Embark on a journey of knowledge as you navigate through our rich collection of articles.
Why Printed Corrugated Boxes Crack Along Crease Lines: A Troubleshooting Guide
10/20/2026
Amanda Ye
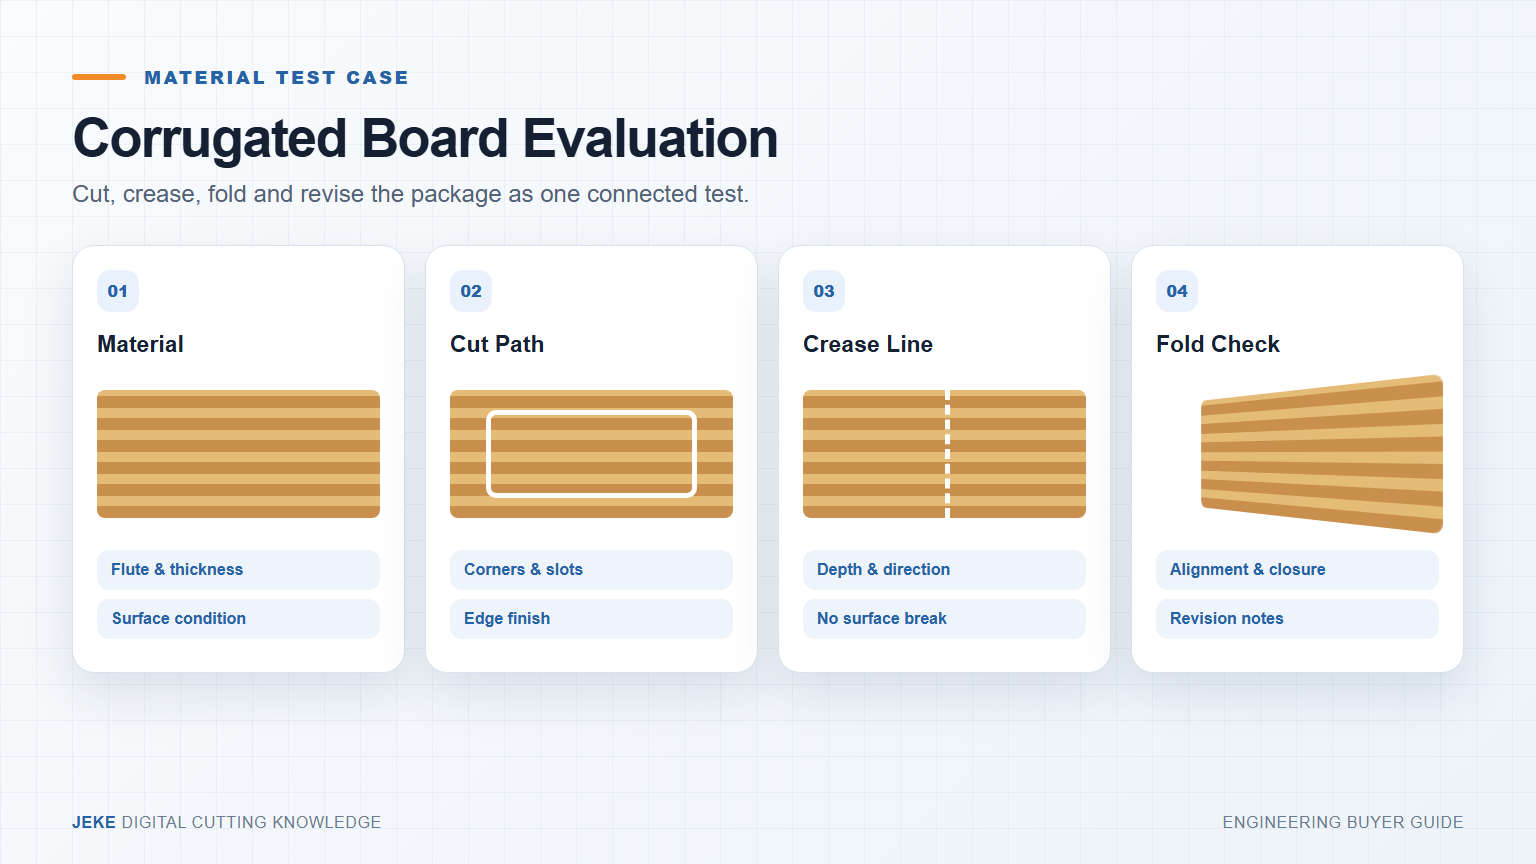
Crease cracking after printing is usually a multi-variable problem. Freeze the failed sample and process record, classify the damage, and then test board condition, flute or grain direction, ink and coating, curing time, crease geometry, and folding conditions one variable at a time.
Define the crack before changing settings
Distinguish surface ink or coating cracks from liner fracture, crushed flutes, a poorly formed crease, and damage created during folding. Record the exact location, face, direction, frequency, batch, and time between printing, creasing, and folding.
Photograph both sides and retain failed pieces. Without this baseline, several changes may hide the cause without producing a repeatable process.
Check board and storage variables
Record board construction, liner and flute, measured thickness, grain/flute direction, lot, storage duration, and conditioning. Compare affected stock with unopened or known-good stock when possible. Moisture and temperature can change paper behaviour, but do not assume they are the cause without a controlled comparison.
Check printing and coating variables
Full coverage, ink system, UV curing, coating stiffness, and elapsed time may influence folding behaviour. Cut printed and unprinted controls from the same board and orientation. If only printed pieces crack, compare coverage, curing, coating, and delay before creasing; do not immediately compensate with more pressure.
Check creasing tools and geometry
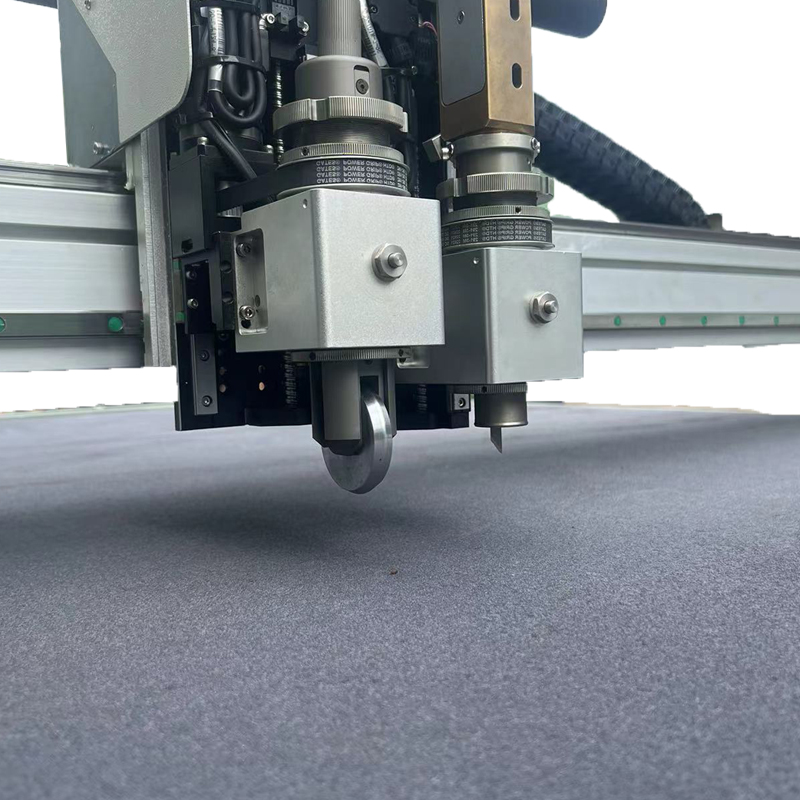
Wheel or channel choice, alignment, crease direction, pressure, and the relationship between the crease and board structure all matter. Settings from another material are only a starting hypothesis.
Variable
Control sample
Changed sample
Result to inspect
board lot
known-good lot
affected lot
liner and flute damage
print
unprinted
printed/coated
surface and liner crack
orientation
with direction
across direction
fold formation
crease setup
documented baseline
one controlled change
both faces and fold
timing
agreed baseline
changed conditioning time
repeat frequency
Deeper creasing is not automatically better. Excess pressure or unsuitable geometry may damage the liner or flute.
Check folding and downstream handling
Record fold direction, manual or machine folding, speed, temperature, pressure, and handling. Crease a sample and fold it under controlled conditions to separate a creasing defect from downstream damage.
Run a controlled test matrix
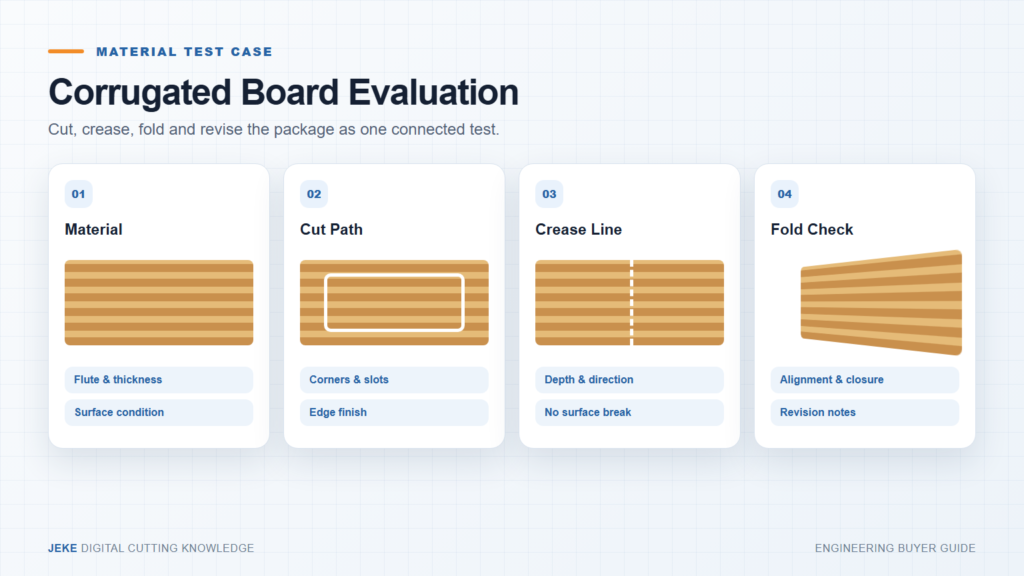
Change one variable at a time. Label every sample, photograph both surfaces before and after folding, and define acceptance in advance. Keep failed samples because they show the boundary of the process.
Frequently asked questions
Can UV printing make crease cracking worse?
It may be one contributing variable in a specific ink, coating, curing, board, and folding combination. Compare printed and unprinted controls from the same stock before drawing a conclusion.
Does deeper creasing always prevent cracking?
No. More pressure can create new damage. Tool geometry and settings must match the actual board and fold requirement.
What belongs in a supplier sample test?
Board construction and lot, print/coating system, timing, orientation, crease tool and settings, folding method, acceptance criteria, labelled samples, and photographs of both faces.
Next step
Send JEKE normal and cracked samples plus material, printing, storage, creasing, and folding records to define a controlled test matrix. No single-setting solution is promised.