Direct answer: A leather cutting sample test report should identify the leather, visible-face requirements, defects and quality zones, grain or stretch direction, pattern revision, nesting rules, cutting tool, hold-down method, process settings, inspection results, repeated-part results, cycle-time definition and unresolved risks. Natural leather and synthetic leather should not be reported as if they behave identically.
The purpose of the report is not to prove that a blade passed through one sample. It is to help a factory decide whether the tested process can protect appearance, respect part-quality rules and produce parts that are usable in sewing, bonding or assembly.
Why leather needs a material-specific report
Natural hides have irregular boundaries and may contain scars, holes, color variation and areas with different quality. Patterns can also have different quality requirements: a visible panel may require a cleaner zone than a hidden reinforcement piece. Research and commercial leather systems therefore treat hide boundaries, defects, quality levels and piece-quality constraints as separate data.
Synthetic leather is usually more regular, but coatings, textile backings, foam laminations, roll tension and visible-surface sensitivity can still change cutting and holding. A useful report records these differences rather than using “leather” as the only material description.
Section 1: identify the material
| Field | What to record | Why it matters |
|---|---|---|
| Leather type | Natural hide, PU, PVC, microfiber, laminated leather or other construction | Structure changes blade resistance and holding |
| Supplier or grade | Internal code, supplier, grade and batch when available | Makes the result repeatable and comparable |
| Thickness | Measured range at more than one location | Natural hides may not be uniform |
| Visible face | Which side must be protected and whether pressure marks are allowed | Prevents a technically cut part from failing appearance inspection |
| Direction | Grain, stretch, nap or pattern direction required by the part | Constrains rotation and nesting |
| Defects and zones | Defect types, acceptable zones and quality grades | Controls which parts may occupy each area |
Section 2: define the pattern and nesting rules
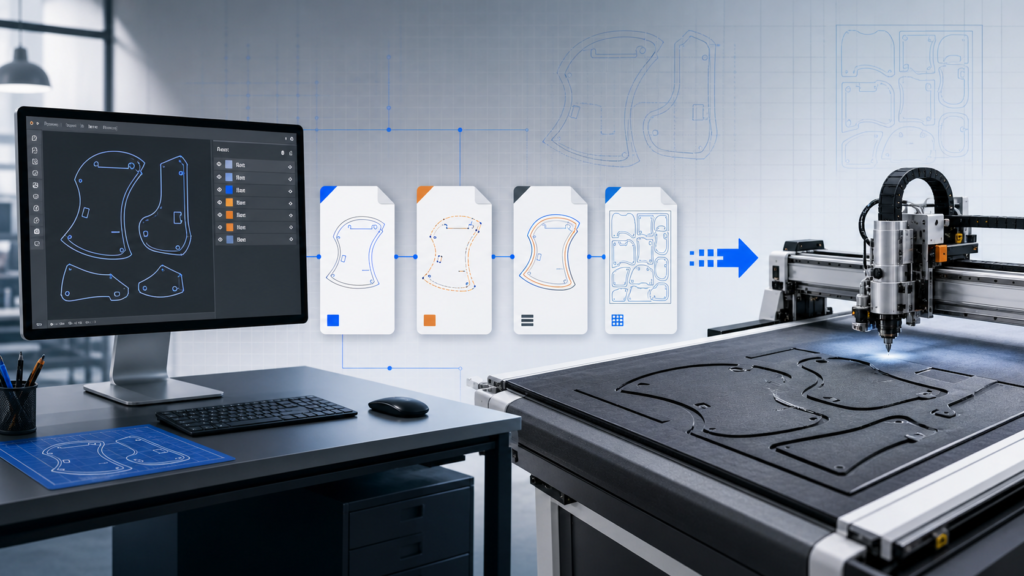
Attach the exact drawing revision and identify paired parts, mirrored parts, holes, notches, internal corners and surface-orientation rules. If a part contains zones with different appearance requirements, show those requirements on the drawing or in a separate piece-quality map.
The report should also explain how the hide was prepared for nesting:
- Was the outer boundary captured manually, by camera or by another digitizing method?
- Who identified defects, and how were defect classes recorded?
- Were quality zones used as hard constraints or operator guidance?
- Were parts allowed to rotate freely, or did grain and stretch limit rotation?
- Was the nest created manually, automatically or with operator adjustment?
Do not report a material-utilization percentage without defining the usable hide area, excluded defects, part-quality constraints and the exact set of patterns. Otherwise, two utilization figures are not comparable.
Section 3: record the cutting setup
| Setup field | Minimum detail |
|---|---|
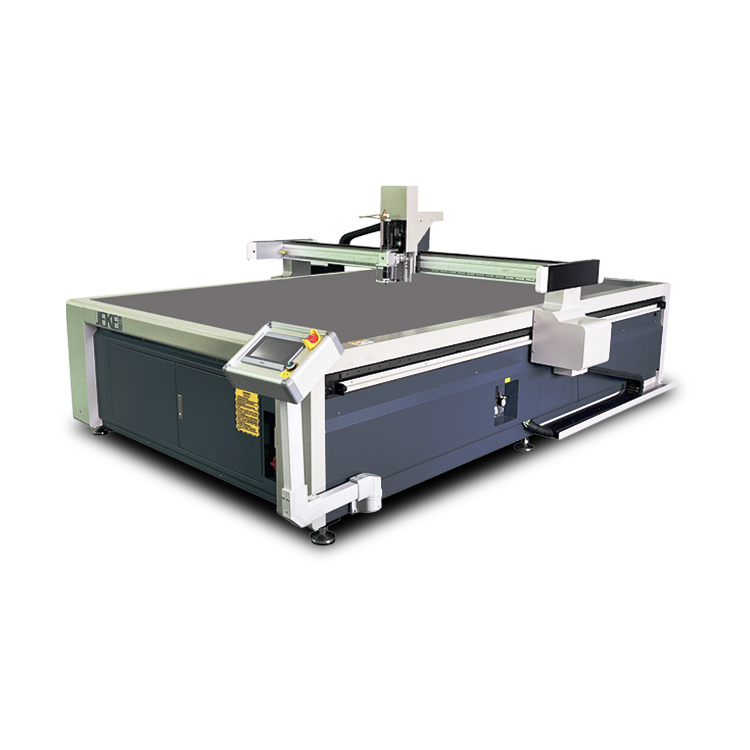
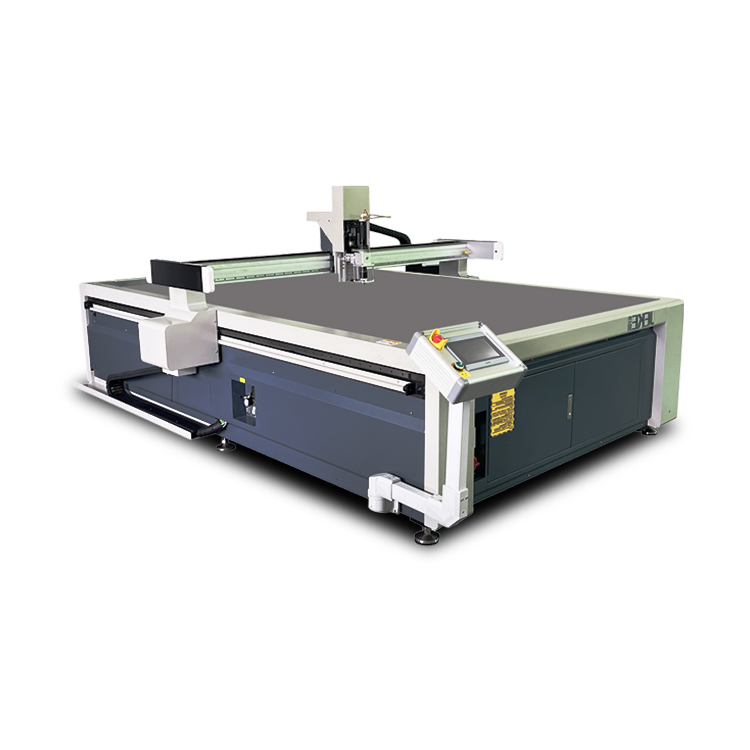
| Machine | Model or test platform and relevant configuration |
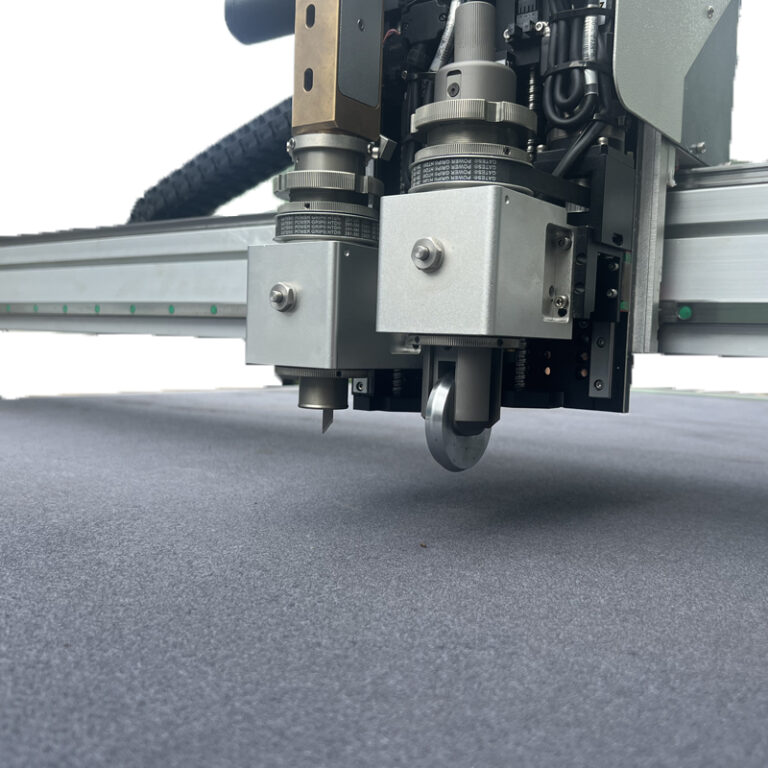
| Tool family | Oscillating, rotary, drag, punch, marking or other tool used |
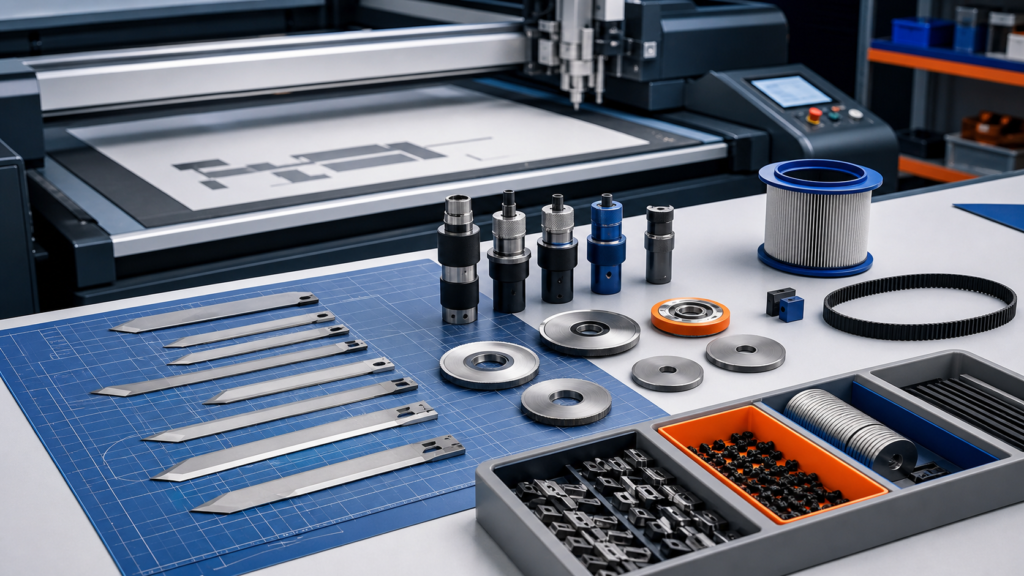
| Blade | Blade reference or geometry, blade condition and replacement point |
| Hold-down | Vacuum zone, coverage method, protective layer and visible-face orientation |
| Process | Cut order, direction, number of passes and relevant settings |
| Environment | Any temperature, humidity or material-conditioning issue that affected the test |
The goal is traceability, not publishing a universal recipe. Settings that work on one hide, coating or backing may not transfer directly to another.
Section 4: inspect the result against agreed criteria
| Inspection | Questions | Recommended evidence |
|---|---|---|
| Edge | Is the edge clean enough for the next process? Is the coating lifted or compressed? | Consistent close-up photographs of top, edge and bottom |
| Critical dimensions | Do assembly dimensions and hole positions meet the buyer’s drawing? | Measurement table with identified instruments |
| Small features | Are notches, small holes, inside corners and narrow bridges usable? | Feature coupon and actual production part |
| Visible surface | Are there scratches, vacuum marks, pressure marks, contamination or unwanted pen marks? | Before-and-after visible-face photographs |
| Part placement | Did any unacceptable defect enter a critical part area? | Nested hide image linked to numbered cut parts |
| Repeatability | Do consecutive parts meet the same standard? | Numbered samples and repeated measurements |
| Downstream use | Can the part be sewn, bonded or assembled without corrective trimming? | Buyer feedback or a downstream trial when practical |
Section 5: define time honestly
Separate the time required for hide inspection, defect marking, digitizing, nesting, loading, cutting, punching or marking, unloading and sorting. A cutting-path time alone does not represent the complete leather workflow. If the test compares manual and automatic nesting, record both methods and the same pattern set.
Section 6: record failures and open questions
A credible report should show failed trials and corrections. Examples include a blade that dragged the backing, a vacuum zone that could not hold an irregular edge, an inside corner that needed a path change, or a visible surface that required a protective layer. Hiding these observations removes the information a buyer needs most.
Close the report with one of three conclusions:
- Accepted for the tested material and criteria.
- Conditionally accepted with a defined tool, protective method or workflow change.
- Further testing required because a critical criterion is unresolved.
Use this report together with JEKE's leather cutting machine guide, pre-purchase material sample test guide, and application and material overview.
How JEKE can use this report with your sample
JEKE supports sample cutting for genuine leather, synthetic leather and footwear materials. Actual tool choice, hold-down and machine configuration depend on leather construction, thickness, surface requirement, pattern geometry and production workflow. Send representative material rather than a specially selected easy piece, and include your own acceptance criteria.
Request a leather cutting test from JEKE and include the material, pattern file, quality-zone rules and downstream requirements.
Frequently asked questions
Should natural and synthetic leather use the same test report?
The report structure can be the same, but the test conditions and risks differ. Natural hides require boundary, defect and quality-zone information. Synthetic rolls may require more attention to backing, roll tension, lamination and repeated feeding.
Should utilization be included?
Yes, if the usable area, defects, quality rules, pattern set, spacing and rotation constraints are defined. A standalone percentage without those conditions is not meaningful.
Can one successful sample confirm production readiness?
No. A successful sample confirms a process candidate. Production readiness also requires representative material variation, repeated parts, operator workflow, downstream acceptance and the agreed machine configuration.
Does camera detection remove the need for human leather inspection?
Not automatically. The workflow depends on the system and defect types. Some processes digitize boundaries and allow an operator to classify defects and quality zones; others add automated inspection. The test report should state exactly how defects were identified.
Sources and further reading
- Fraunhofer SCAI: AutoNester-L quality zones and leather nesting constraints
- Comelz: Leather measurement, defect marking, quality areas and nesting workflow
- Zünd: Workflow from leather capture and nesting to cutting and picking
Last reviewed: August 20, 2026.