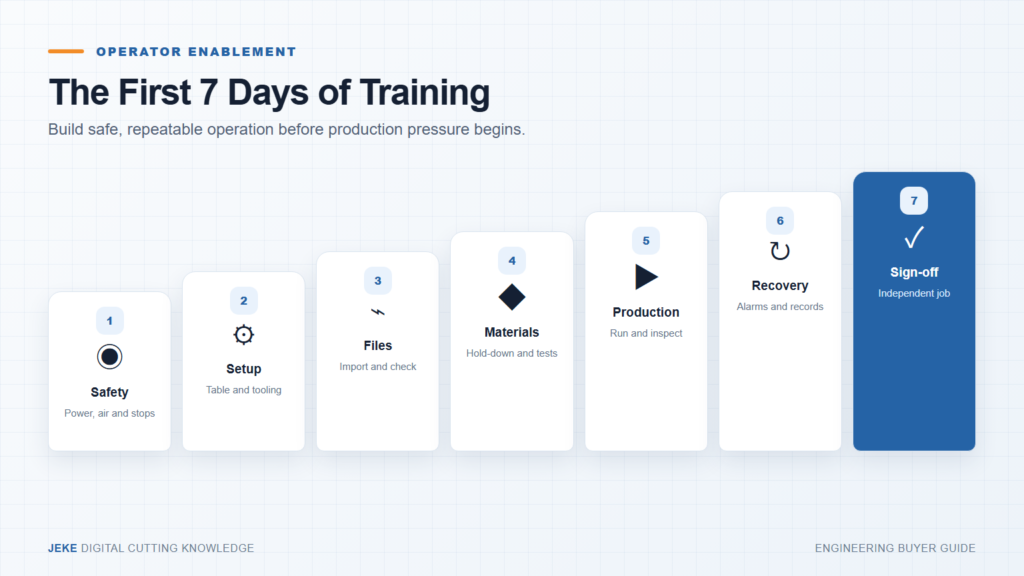
Effective CNC cutter operator training ends with an operator completing a safe production job independently. Watching a demonstration is only the beginning. The first seven days should combine machine safety, physical setup, file preparation, material testing, quality inspection and recovery from normal errors.
Day 1: safety, machine boundaries and shutdown
Identify emergency stops, moving zones, tool hazards, electrical isolation and any compressed-air or vacuum risks. The operator should know how to stop a job safely, when not to reach into the working area, and which maintenance actions require isolation or technical support.
Complete a supervised startup and shutdown. Record alarms rather than clearing them without understanding the cause.
Day 2: table, tools and calibration
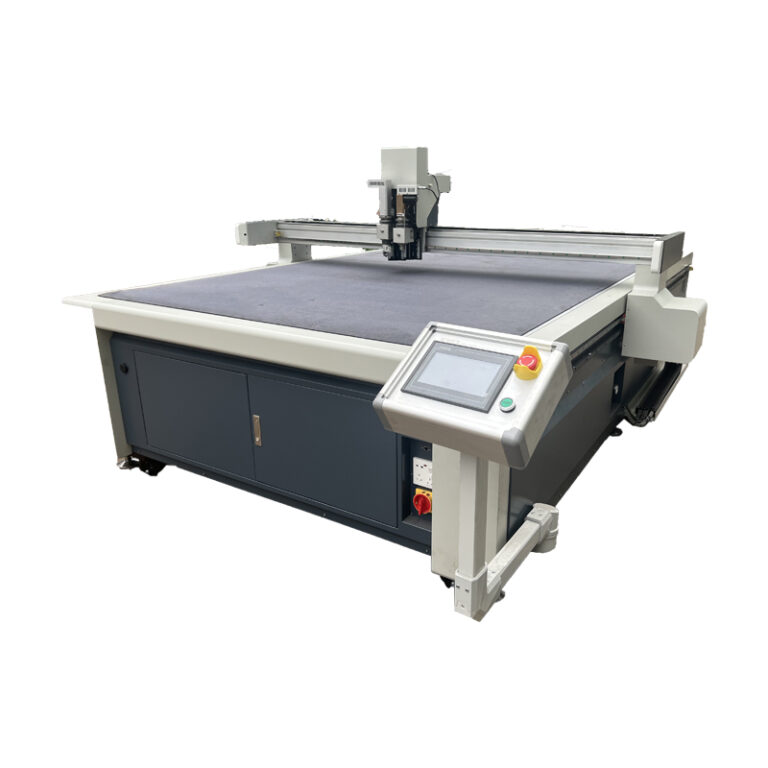
Clean and inspect the cutting surface, check the vacuum zones or hold-down, load material and install the approved tool. Practice blade handling and tool calibration using the machine procedure. The operator should be able to identify the exact blade and explain why it is used.
Day 3: files and process assignment
Import a known-good file, confirm units and dimensions, inspect open or duplicate paths, and assign cut, crease or mark operations. Save the job using a controlled naming method. The trainee should recognize when a file problem must return to design rather than being patched at the machine.
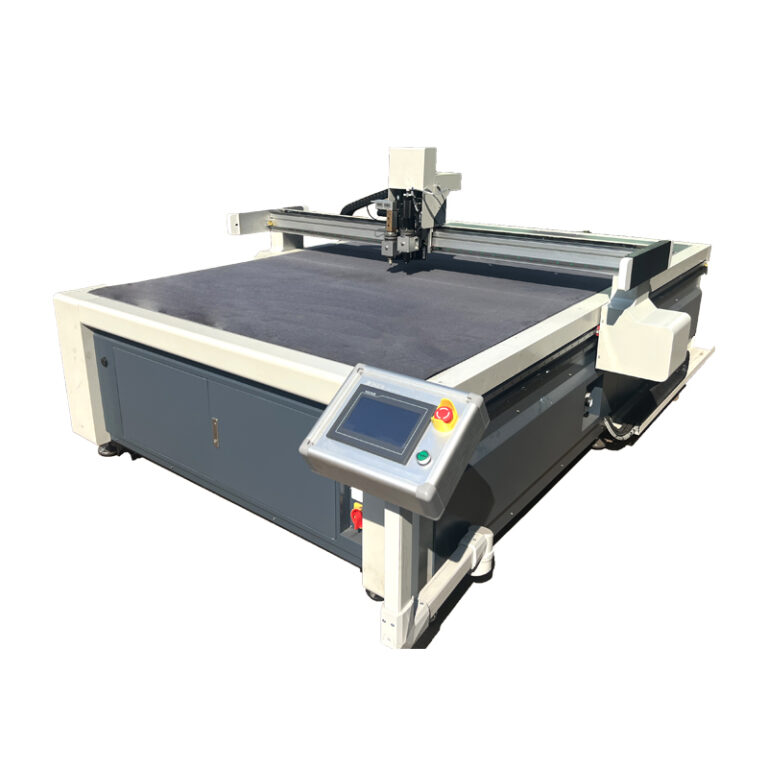
Day 4: material setup and controlled test cuts
Use two materials with different behavior. Discuss direction, surface sensitivity, compression, stretch and dust. Run a small test geometry before the production layout. Change one parameter at a time and record the result.
| Training day | Practical output | Sign-off evidence |
|---|---|---|
| 1 | Safe startup, stop and shutdown | Operator identifies hazards and emergency response |
| 2 | Tool installation and calibration | Correct tool, blade and hold-down setup |
| 3 | Imported and checked production file | Units, paths and process layers confirmed |
| 4 | Documented material test | Settings and observed edge quality recorded |
| 5 | Complete supervised job | First-piece and in-process checks completed |
| 6 | Recovery exercises | Alarm, restart and support evidence handled correctly |
| 7 | Independent production job | Competency checklist approved |
Day 5: run a job and inspect the output
The operator loads material, calls the approved file, confirms tool and settings, produces a first piece and checks it before continuing. Teach how to inspect edges, dimensions, crease quality, marks and material movement. Production speed should not increase until the output is stable.
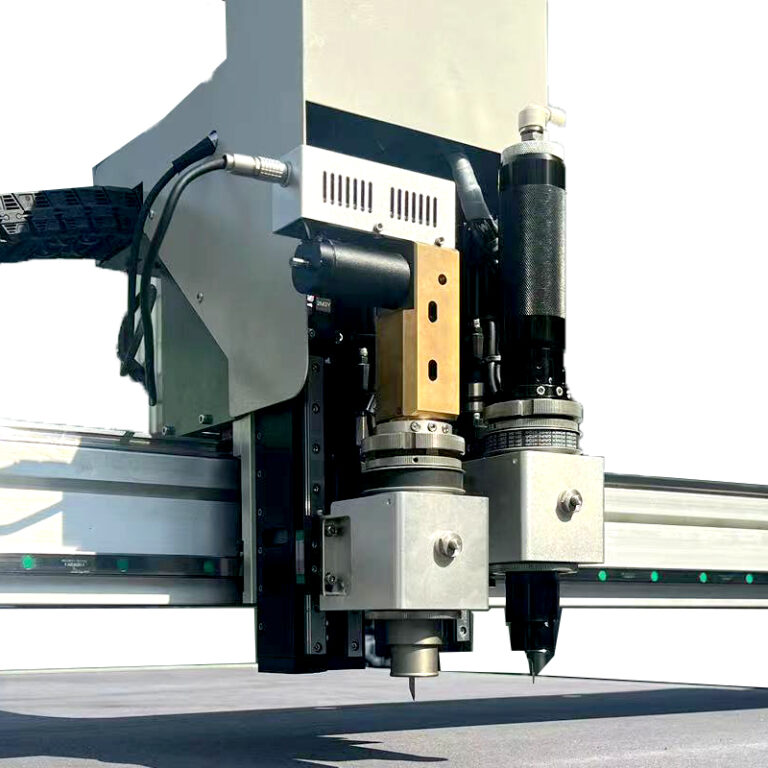
Day 6: normal faults, restart and maintenance records
Practice safe responses to a lifted material, worn blade, file import error, loss of hold-down and a recoverable alarm. The goal is not to create artificial failure; it is to teach the operator what evidence to collect and when to stop. Review daily cleaning and inspection tasks from the machine manual.
Day 7: competency sign-off
Give the trainee a complete but familiar job. The assessor observes safety, setup, file validation, test cut, production, inspection and shutdown without coaching each step. Record any restricted task requiring more supervision.
Use the installation and training requirements guide to prepare the site, then confirm support channels in the overseas after-sales guide. The material test workflow provides a repeatable training exercise. Browse digital cutting systems or ask JEKE what training is included with a configuration.