
A CNC cutter factory acceptance test should answer one practical question: is the machine being shipped the same configured system that the buyer approved? A polished demonstration is not enough. The inspection needs to connect the quotation, machine labels, installed tools, working area, sample material and test evidence.
This checklist is written for overseas buyers who cannot stand beside the machine for every inspection. It separates items that can be verified with photographs and documents from items that require a live cutting trial.
Start with the approved configuration, not with the machine
Before the test begins, place the final quotation or configuration sheet beside the inspection record. Confirm the model, usable working area, conveyor or fixed table, cutting tools, camera option, vacuum system, electrical standard, software scope and included accessories. A test cannot prove compliance when the reference configuration is vague.
| Acceptance area | Evidence to collect | Reason for checking |
|---|---|---|
| Machine identity | Model plate, serial number and overall photographs | Links the tested machine to shipping documents |
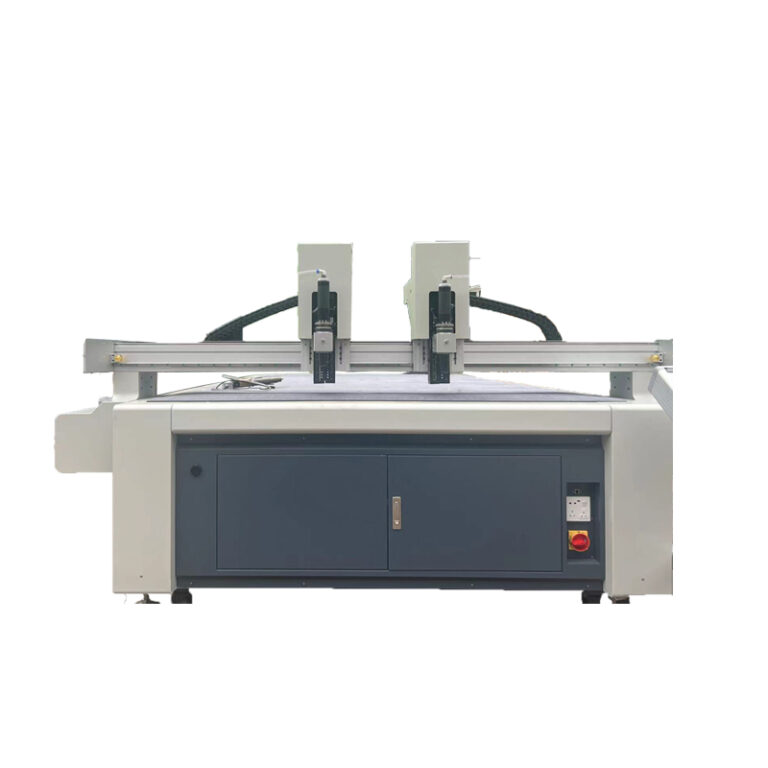
| Installed configuration | Tool heads, table, camera, pump and control cabinet | Confirms that quoted options are physically present |
| Functional test | Power-on, homing, motion and emergency-stop video | Shows that basic systems operate together |
| Material trial | Original file, settings, cut sample and close-up photographs | Connects machine configuration to the buyer’s work |
| Shipment package | Packing list, accessory list and crate photographs | Reduces missing-item disputes after arrival |

Inspect the mechanical platform before testing speed
Ask the supplier to show the table surface, gantry, rails, cable chain, tool carriage and material-feeding path. Look for shipping damage before packing, loose cables, exposed connectors or interference across the full travel. The machine should complete homing and controlled movement without abnormal noise or repeated alarms.
Table flatness and hold-down matter because cutting depth and edge quality depend on stable support. A visually fast machine can still produce inconsistent parts if the material lifts or if the cutting surface varies across the working area.
Verify every installed tool as a separate process
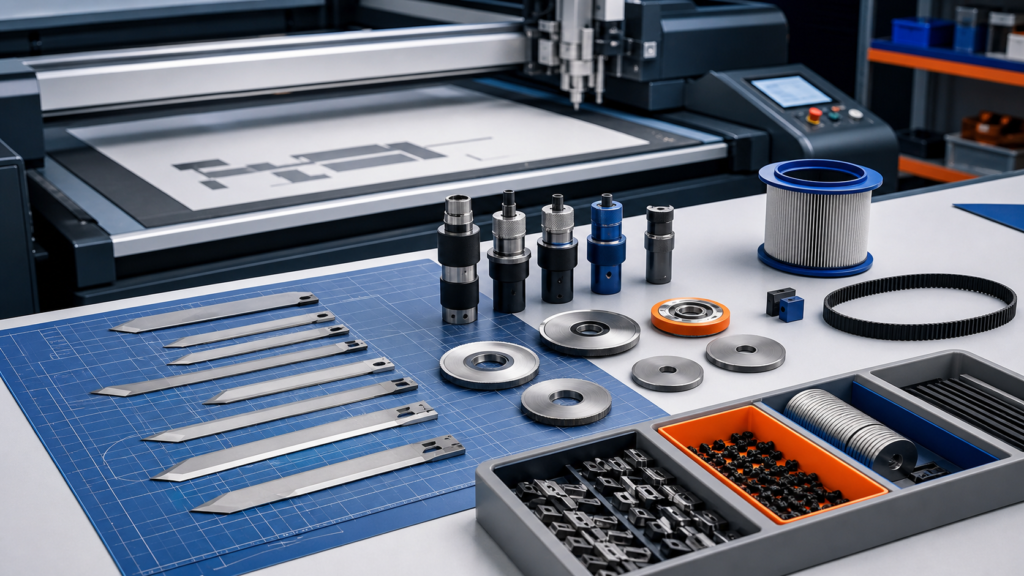
Do not accept one easy sample as proof for every tool. An oscillating knife, rotary knife, creasing wheel and marking tool perform different operations. The test record should identify which tool was installed, which blade or wheel was used, and why it matches the material.
- Confirm that each quoted tool is recognized by the control system.
- Check mounting, tool change and calibration procedures.
- Run a simple operation with each production-critical tool.
- Record the blade or consumable specification needed for replacement.
Use the buyer’s material and a difficult test file
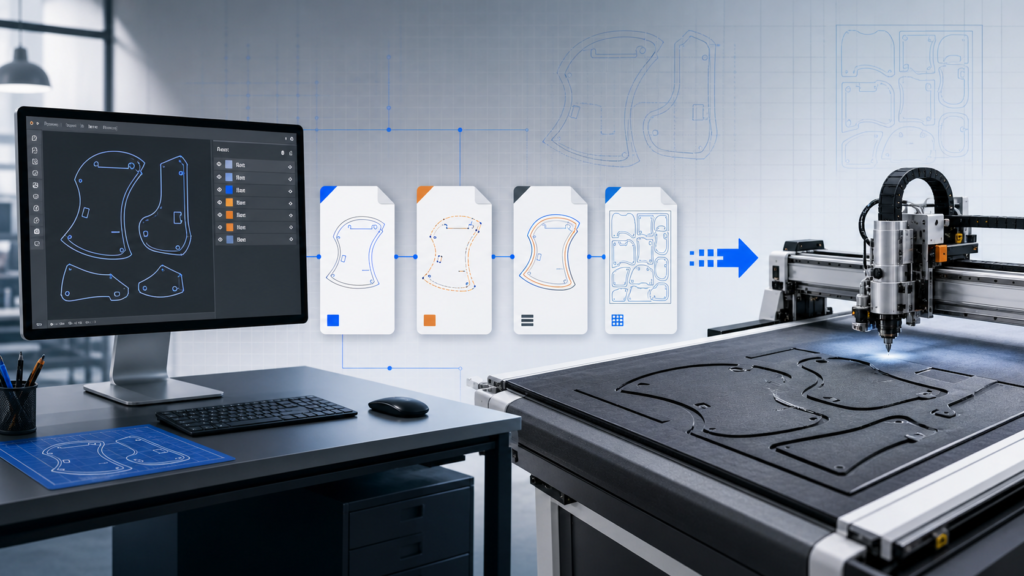
A factory sheet chosen by the supplier may hide the real challenge. Use the buyer’s production material whenever possible and include the maximum thickness, tight corners, small holes, long straight lines and repeated parts that matter to the job. For printed work, include the registration and contour workflow rather than testing an unprinted sheet.
Keep the approved sample, the digital file and photographs together. Record hold-down method, tool selection and observed edge quality. If a sample needs another test, the report should say why instead of silently replacing the result.
Request an evidence package before packing
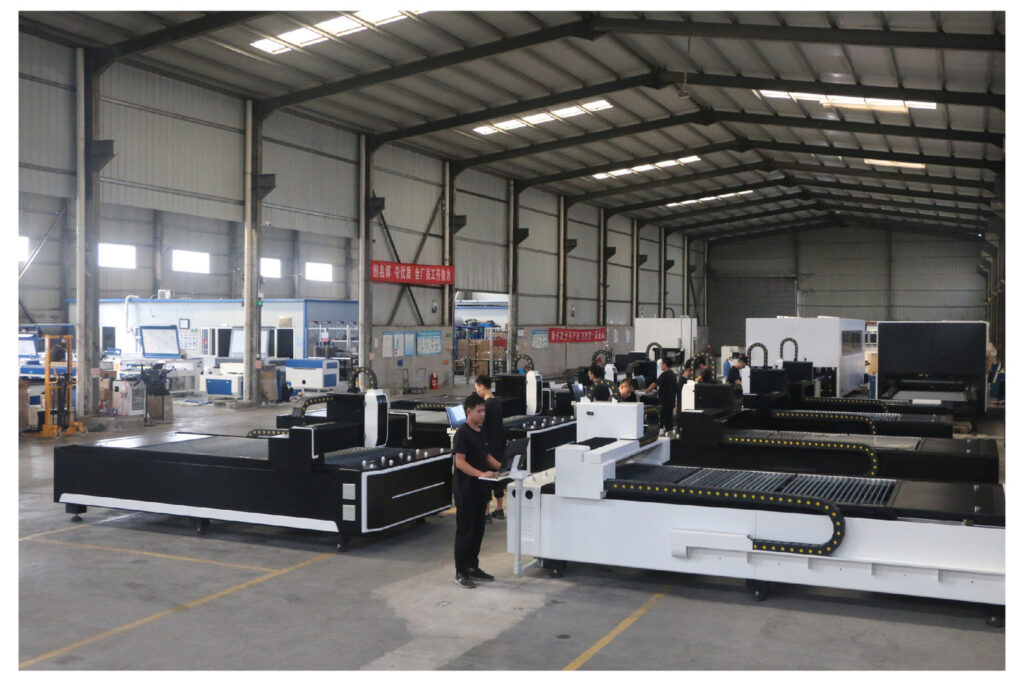
The most useful evidence package is small but complete: machine identity photographs, configuration photographs, power-on and safety video, sample-cut video, photographs of both sides of the sample, accessory count, software and manual list, and packing photographs. Files should be named so the buyer can trace them to the purchase order.
Do not treat a short video as proof of accuracy by itself. Measurement method, repeated pieces and the buyer’s allowable deviation should be defined before the test. The material sample testing guide explains how to design a controlled trial.
What happens when an item does not pass?
Record the issue, corrective action and retest evidence. A minor software setting and a missing physical component are not the same risk. The machine should not move to final packing while an agreed critical item remains open. The final record should show who accepted each correction and which configuration will be packed.
Buyers can compare this procedure with JEKE’s installation preparation guide and overseas support overview. To build an acceptance test around your own material and configuration, send JEKE the sample details and production requirements. Relevant systems are available in the digital cutting machine category.