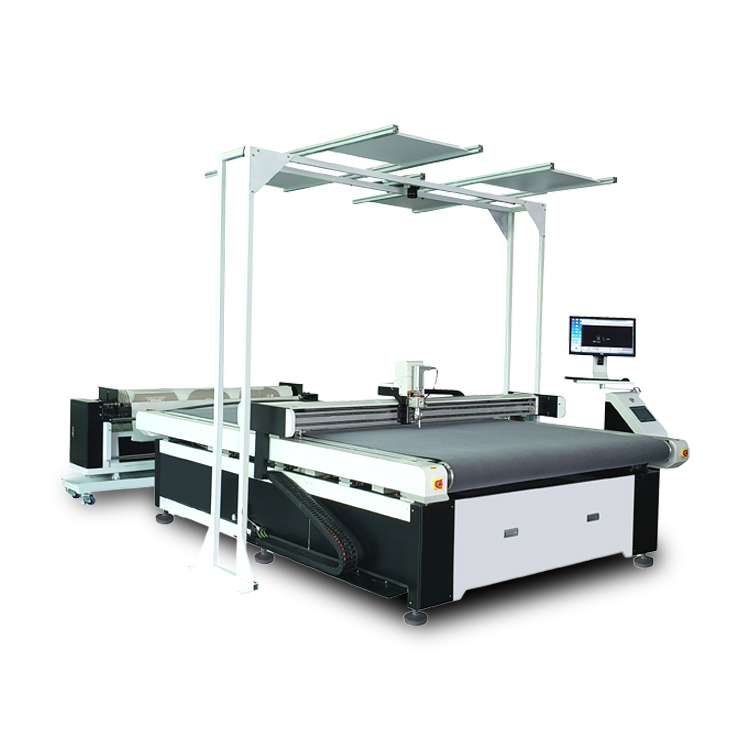
Direct answer: A shoe-upper factory should test representative leather, real production patterns, defect and quality-zone rules, grain direction, mirrored pairs, small holes and notches, edge quality, visible-surface protection, repeated parts, nesting and downstream usability. Natural leather, synthetic leather and sole materials should be tested separately because they may require different tools and workflows.
The purchasing question is not simply whether a machine can cut a shoe shape. The machine and process must handle the factory’s material variation, appearance rules and part mix without creating hidden work in sorting, trimming or sewing.
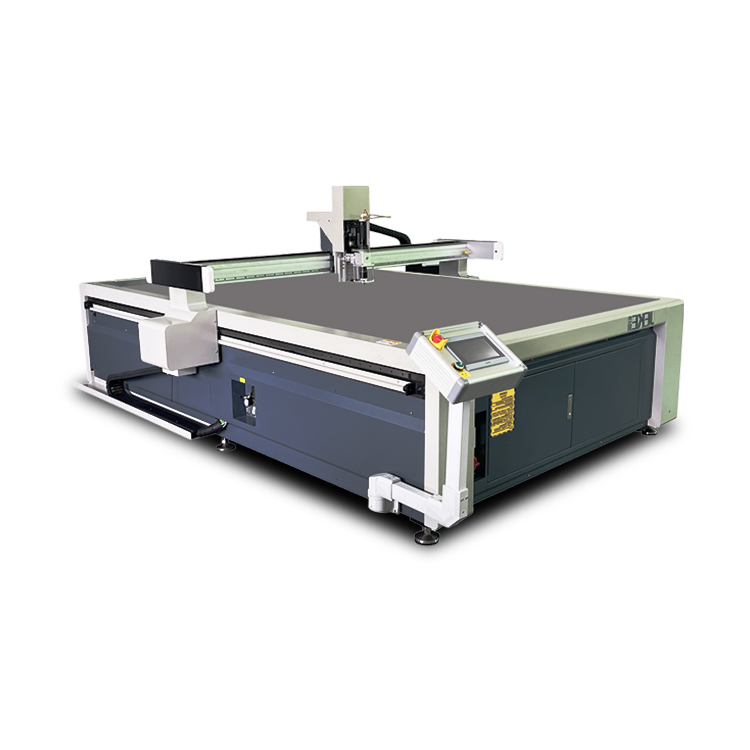
1. Test the actual leather constructions you buy
Build the test set around normal production, not a single ideal sample. Include the highest-volume material and the material most likely to cause problems. For example:
- Natural leather with realistic irregular edges and defects.
- PU, PVC or microfiber leather with the production backing.
- Laminated or foam-backed upper materials.
- Stiff reinforcement or stencil material used in the same workflow.
- Sole material only if it is part of the intended machine scope.
Record thickness as a range where the material varies. Also identify the visible face, backing, grain or stretch direction and any coating that could mark, lift or drag.
2. Use a production pattern, not a demonstration logo
The file should contain the features that make shoe-upper cutting difficult: tight curves, narrow bridges, small holes, notches, internal corners, left/right pairs and parts with different quality requirements. Include seam allowance and orientation rules exactly as they are used in production.
| Feature to include | What the test should reveal |
|---|---|
| Left and right mirrored parts | Whether orientation, pairing and sorting are controlled |
| Small holes or punches | Whether the selected process creates usable, correctly positioned holes |
| Notches and internal corners | Whether the blade path distorts or overcuts small features |
| Long curved edges | Whether the material remains stable throughout the path |
| Visible and hidden parts | Whether quality zones can be assigned according to part importance |
| Identification marks | Whether marks are legible, correctly placed and acceptable on the chosen face |
3. Define defect and quality-zone rules for natural hides
Leather nesting systems can represent hide boundaries, holes, defects and quality levels, while parts can carry their own quality requirements. The test should document who identifies defects, how zones are graded and whether those zones act as hard nesting constraints.
Use an annotated hide image linked to numbered cut parts. This allows the buyer to verify that a visible upper panel did not cross an unacceptable defect while a less visible component used a lower-grade area appropriately.
Do not compare nesting percentages unless both tests use the same usable hide area, defect map, spacing, rotation limits and pattern set.
4. Inspect the visible face and the cut edge
For an upper part, a dimensionally correct cut can still fail if the surface is scratched, compressed, contaminated or marked in a visible area. Inspect the material before and after cutting under consistent lighting.
- Check the top, bottom and edge of every critical part.
- Look for coating lift, rough fibers, dragging and incomplete separation.
- Check whether vacuum, pressure devices or debris left a visible mark.
- Confirm that pen or identification marks are placed only where allowed.
- Ask the sewing or assembly team whether corrective trimming is needed.
5. Verify tool choice by material behavior
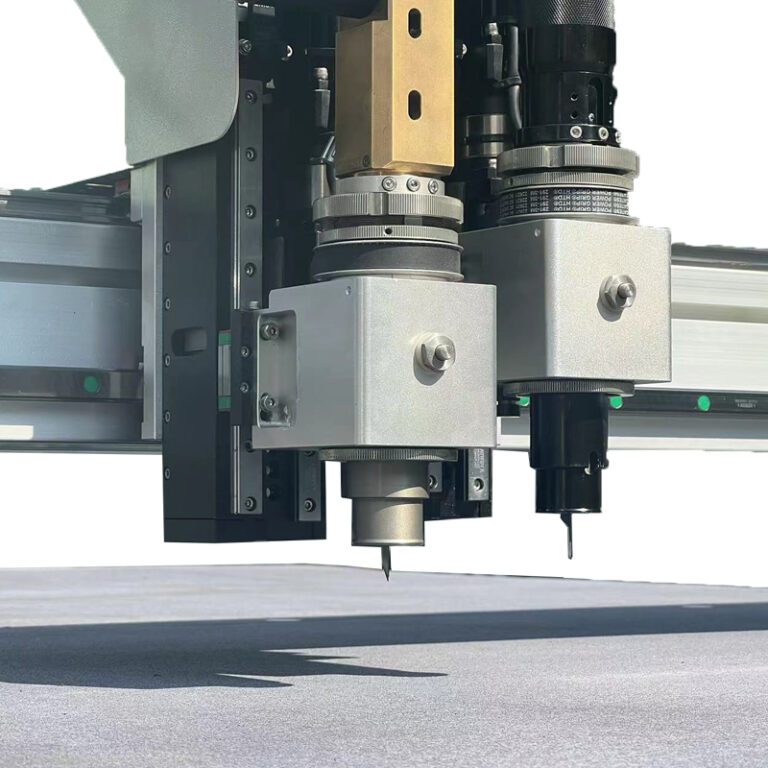
Leather cutting may use oscillating, rotary, punching, marking or routing tools depending on the material and operation. Dense sole material does not behave like thin synthetic upper material. A supplier should explain why a tool was selected and show the result on the buyer’s material.
Record the blade and tool family, blade condition, hold-down method, number of passes and relevant settings. The test report should not present one recipe as universal for every leather.
6. Repeat the part and test realistic variation
One acceptable part is not enough. Number consecutive pieces, measure the critical features and compare edge and surface quality. Where natural hide thickness or quality varies, deliberately include more than one area. Where synthetic material is roll-fed, verify that feeding and alignment remain stable across the test length.
7. Evaluate the complete workflow
Record time for material inspection, defect marking, digitizing, nesting, loading, cutting, punching or marking, removal and sorting. A shoe-upper process may gain time at cutting but lose it later if paired parts are mixed or small pieces are difficult to identify.
Ask the supplier to demonstrate how cut parts are identified and grouped. If projection, labels or marks are proposed, test them with the operators who will prepare the parts for sewing.
Shoe-upper cutting test checklist
| Test area | Pass condition to define |
|---|---|
| Material coverage | All representative constructions and difficult variants are included |
| Part geometry | Real small features, pairs and critical curves are tested |
| Defect control | Unacceptable defects stay outside restricted part zones |
| Edge and surface | Approved visual standard is met without corrective trimming |
| Dimensions | Buyer-defined critical measurements pass using an agreed method |
| Repeatability | Agreed consecutive parts meet the same criteria |
| Sorting | Paired and small parts reach the next process correctly identified |
| Reporting | Tools, settings, failures, corrections and open risks are documented |
Before final configuration, review the JEKE leather cutting machine guide, material sample testing process, flexible-material cutter selection guide, and JEKE application and material overview.
How JEKE can support the test
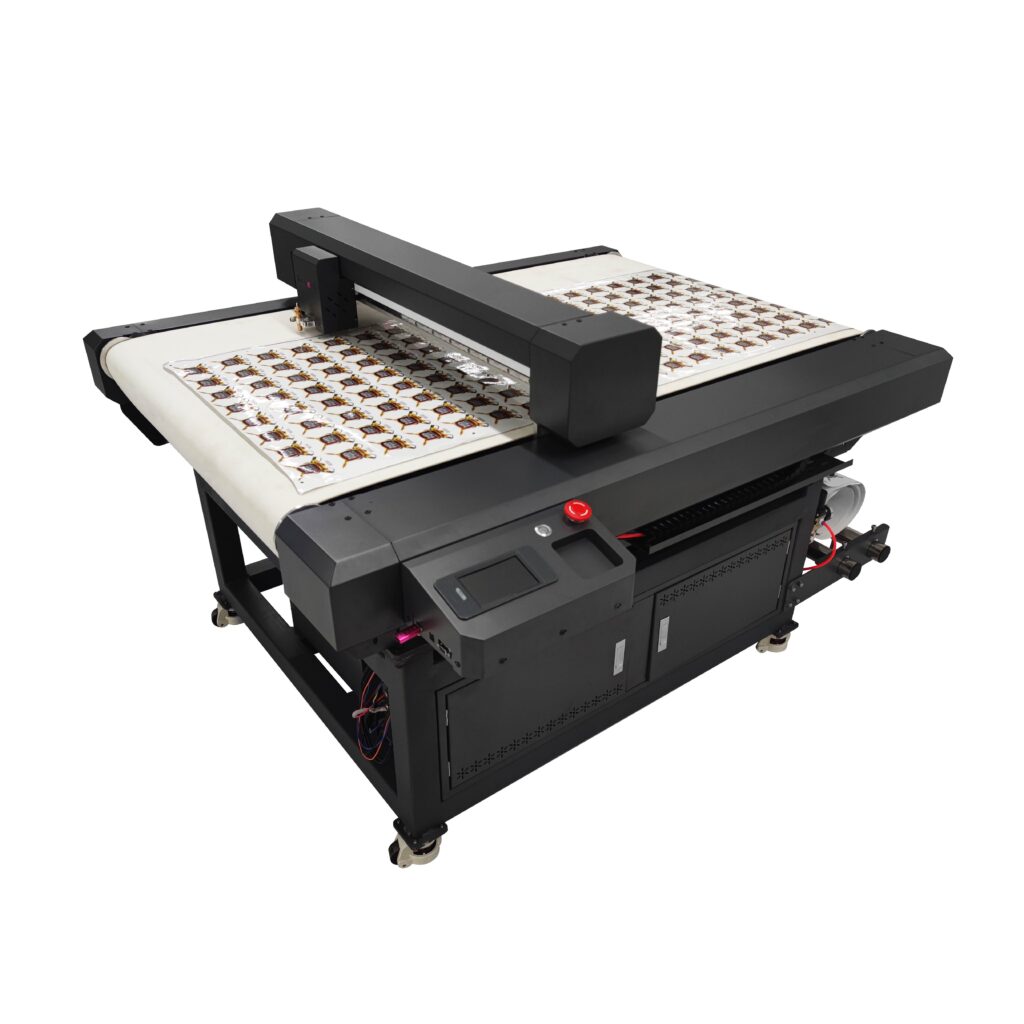
JEKE digital cutting systems can be configured for genuine leather, synthetic leather, shoe-upper and other footwear materials. Available process options can include oscillating, rotary, punching and marking tools, depending on the machine and material. The correct configuration must be confirmed with representative samples, real patterns and agreed quality criteria.
Discuss your shoe-upper material test with JEKE and send the material list, pattern file, quality-zone rules, largest part and expected production mix.
Frequently asked questions
Can one machine cut both shoe uppers and soles?
Possibly, but the decision depends on sole density, thickness, required tool force, upper-material sensitivity and production capacity. Test both material families and verify the proposed tool configuration before assuming one process fits all.
Should automatic nesting be compared with an experienced manual nester?
Yes, if material utilization is a purchasing objective. Use the same hide image, defects, quality rules, spacing, rotation limits and pattern set. Record operator time as well as the final nest.
What is the most important shoe-upper test feature?
There is no single universal feature. The factory should identify the part characteristic most likely to cause rejection, such as a visible defect, a small hole, a tight inside corner, a paired orientation or a surface mark, and make that a formal pass/fail criterion.
Does the fastest test result identify the right machine?
No. The complete workflow includes inspection, nesting, loading, cutting, removal and sorting. Quality and repeatability must be evaluated with time.
Sources and further reading
- Zünd: Leather uppers, perforation and tool considerations for footwear materials
- Comelz: Hide measurement, classification, defect marking and nesting
- Fraunhofer SCAI: Leather quality zones and constrained nesting
Last reviewed: August 20, 2026.