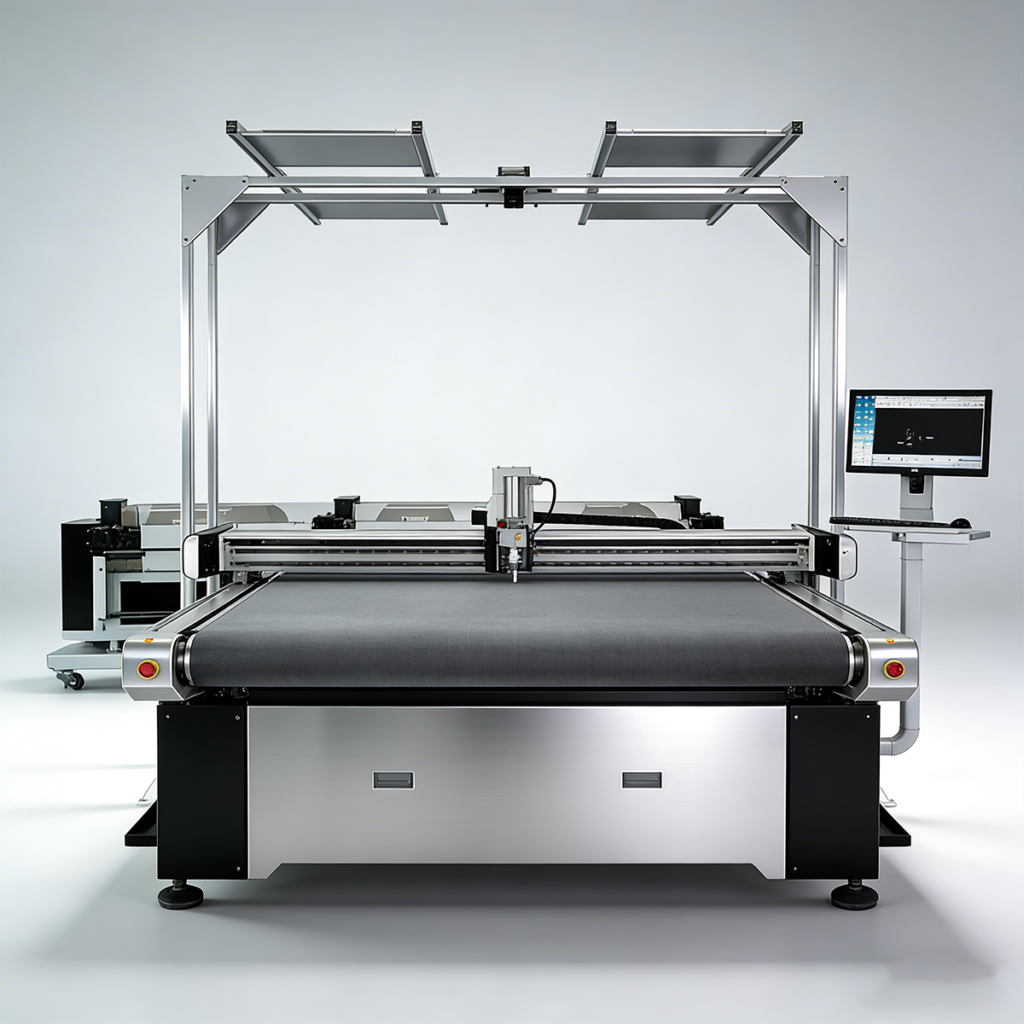
A CCD camera cutting machine helps printed fabric producers solve one of the most expensive print-and-cut problems: the cutting path does not match the real printed pattern. The fabric may look correct after printing, but if the material shifts, stretches or distorts before cutting, the finished panel can have uneven borders, missed contours or unusable parts.
For sublimation sportswear, printed apparel panels, patches, labels, leather graphics and advertising textiles, alignment is often more important than raw cutting speed. The buyer needs a machine that can see the actual printed position, correct the cutting path and then cut the material with the right tool.
This guide explains how camera positioning works for printed fabric, when CCD knife cutting may be better than CCD laser cutting, and what machine features to check before asking JEKE for a print-and-cut sample test.
What problem does a CCD camera cutting machine solve?
A CCD camera cutting machine solves print-to-cut alignment errors. It uses a camera or vision recognition system to locate registration marks, printed contours or graphic positions, then adjusts the cutting path to match the real printed material instead of relying only on the original digital file.
This matters because printed fabric is rarely perfect after printing and handling. Common problems include:
- Slight fabric stretch during printing or transfer
- Material skew when loaded onto the cutting table
- Graphic position changes between print and cut steps
- Roll feeding deviation
- Heat transfer distortion on sublimation fabric
- Manual placement differences from one job to another
Without camera positioning, the cutter may follow the file accurately but still cut the wrong place on the material. For buyers, that means waste, rework, delivery delays and inconsistent finished products.
How camera positioning works in print-and-cut workflows
Camera positioning is useful because it checks the real material before cutting. The exact workflow depends on the machine and software, but most print-and-cut processes follow a similar logic.
| Step | What happens | Why it matters |
|---|---|---|
| 1. Print the artwork | The fabric, label, patch or graphic panel is printed first | Printing may create small size or position differences |
| 2. Place material on the table | The operator loads the printed material onto the cutting area | Placement is rarely perfectly square by hand |
| 3. Camera captures reference points | The system reads registration marks, contours or image features | The machine sees the actual printed position |
| 4. Software corrects the path | The cutting path is adjusted to match the captured image | This reduces mismatch between file and material |
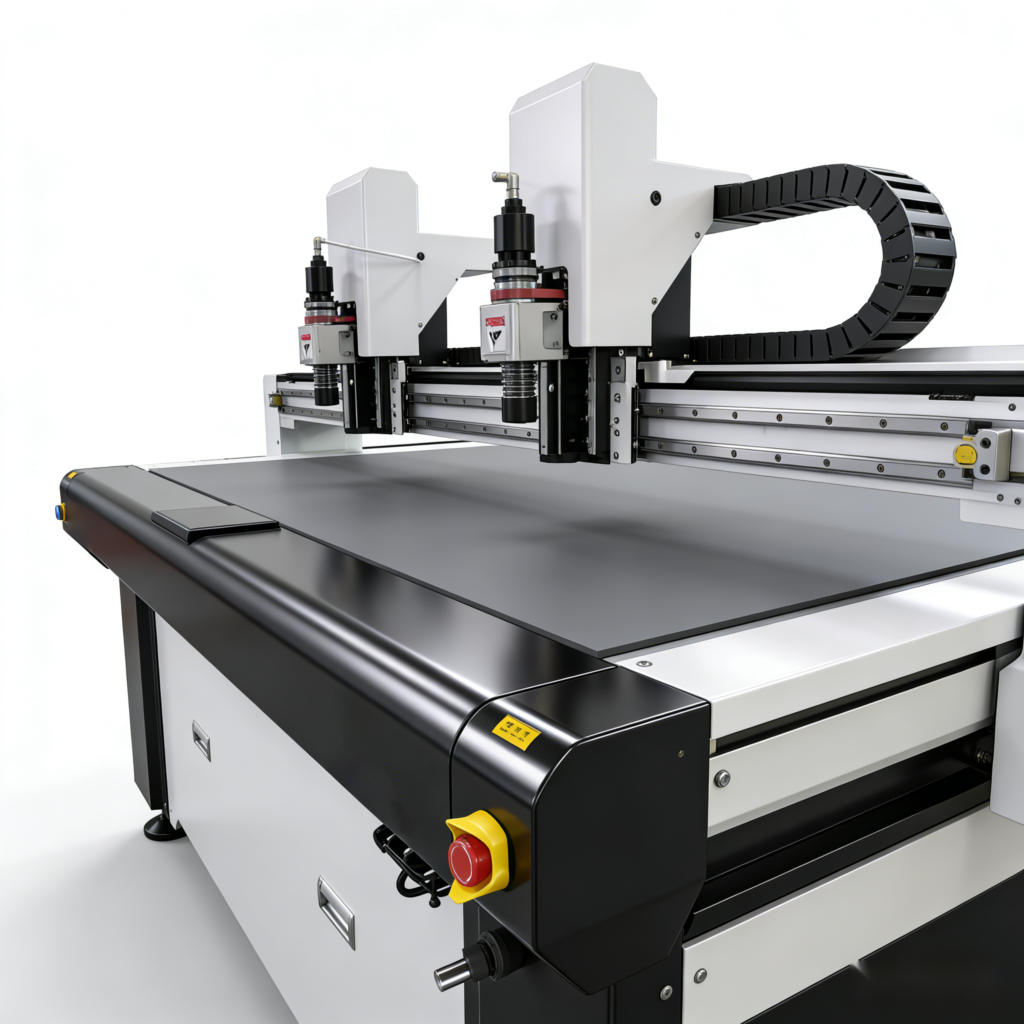
| 5. Vacuum or feeding holds the material | The fabric is stabilized during cutting | Movement control is important for stretch textiles |
| 6. Tool cuts the contour | Knife, blade or other tool cuts along the corrected path | The final shape matches the printed graphic more closely |
For simple printed graphics, registration marks may be enough. For more complex jobs, the system may need contour recognition, feature recognition or a larger visual cutting area. The right choice depends on the product type, fabric behavior, print accuracy and required finish quality.
Buyers should not evaluate camera positioning as a separate add-on only. It must work together with software, lighting, table size, material holding, feeding method and cutting tool selection.
CCD knife cutting vs CCD laser cutting for printed fabric
Many buyers searching for a vision cutting machine will find both laser systems and knife-based digital cutters. Both can be useful, but they are not the same solution. The better choice depends on fabric type, edge requirement, heat sensitivity and the production workflow.
| Comparison point | CCD knife cutting | CCD laser cutting |
|---|---|---|
| Cutting method | Physical blade or oscillating/rotary knife | Laser beam |
| Best fit | Heat-sensitive fabric, textile panels, leather graphics, flexible materials needing clean non-burnt edges | Some synthetic fabrics, sealed-edge applications, certain contour cutting jobs |
| Edge effect | No burnt edge from heat, less smoke, no laser discoloration | May seal some synthetic edges, but can create heat marks or smoke depending on material |
| Material flexibility | Can support multiple tools for fabric, leather, foam, cardboard, labels or flexible sheets | Strong for selected materials but less suitable for some heat-sensitive or smoky materials |
| Workflow advantage | Useful when buyers need knife cutting plus camera positioning, nesting or mixed material work | Useful when laser edge behavior is acceptable and the material is laser-friendly |
| Buyer risk | Needs correct blade, pressure, vacuum and feeding setup | Needs material safety check, ventilation and edge-quality testing |
For printed fabric, CCD laser cutting may look attractive because it is common in sublimation and contour cutting searches. However, laser is not always the right answer. Some fabrics may discolor, melt, smoke or create an edge effect the buyer does not want.
A knife-based CCD camera cutting machine can be a better option when the buyer cares about:
- No burnt edge
- No smoke from laser cutting
- Lower heat effect on printed fabric
- Cutting mixed flexible materials with one platform
- Adding tools for labels, patches, leather graphics or packaging mockups
- Testing different textiles instead of committing to one laser workflow
This does not mean knife cutting fits every printed fabric. Some materials and shapes still need testing. The safest approach is to send printed samples, files and finished-product requirements before choosing the machine.
Materials and products that need camera positioning
Camera positioning is most valuable when the final product depends on the relationship between printed artwork and the cut edge. If the cut can be slightly off without affecting appearance, a standard cutting workflow may be enough. If the cut must follow a graphic, mark or border, camera positioning becomes much more important.
Common applications include:
- Sublimation fabric panels for sportswear, teamwear and performance apparel
- Printed apparel pieces where graphics must align with garment panels
- Patches and badges with shaped printed borders
- Printed labels and textile tags requiring contour cutting
- Leather graphics or printed synthetic leather panels
- Advertising textiles such as flags, banners and display fabrics
- Printed packaging mockups that need contour cutting and crease alignment
- Reflective or specialty films used in apparel, signs or promotional products
Printed fabric also creates a practical challenge: it can stretch or deform more easily than rigid sheets. That is why vacuum holding, stable feeding and cutting parameters are just as important as the camera itself.
Machine features to check before buying
The camera is only one part of the print-and-cut system. A weak machine with a camera may still fail if the software is difficult, lighting is poor, feeding is unstable or the tool is not matched to the material.
| Feature | What to check | Why it matters |
|---|---|---|
| Camera type and recognition method | Does it read marks, contours, image features or large-format visual areas? | Different products need different recognition methods |
| Lighting and image clarity | Can the system recognize marks on your printed material surface? | Poor contrast can reduce recognition reliability |
| Conveyor or fixed table | Does the workflow use roll fabric, sheets or panels? | Feeding method affects speed and alignment stability |
| Vacuum holding | Can the table hold lightweight or stretch fabric flat? | Fabric movement can ruin contour accuracy |
| Software workflow | Can it import your files and adjust cutting paths smoothly? | File preparation should not become a bottleneck |
| File formats | Does it support your design or production files? | Compatibility affects daily operator efficiency |
| Tool options | Which knife, blade or module fits the fabric? | Edge quality depends on tool choice |
| Sample testing | Can the supplier test your real printed material before purchase? | Printed textiles vary too much for guessing |
Before asking for a quote, prepare several real examples: one easy printed fabric, one difficult fabric and one typical production file. This helps the supplier test recognition, cutting edge, feeding stability and workflow speed under conditions close to your factory.
When to ask JEKE for a print-and-cut sample test
Ask for a sample test when the printed material is valuable, the cut border is visible, the fabric stretches easily or the product must follow a printed contour closely. A test is also important when you are comparing CCD knife cutting with CCD laser cutting and need to see the edge quality on your own material.
For a useful JEKE sample test, prepare:
- Printed material samples: Include the actual fabric, label, patch, leather graphic or advertising textile you plan to cut.
- Pattern or cutting file: Send DXF, AI, PDF, PLT or the format used by your production team.
- Registration mark or contour requirement: Explain whether the machine should read marks, image edges, printed outlines or feature points.
- Finished-product quality target: Tell JEKE what kind of edge, border and alignment result is acceptable.
- Production volume and feeding method: Share whether the job is sheet-based, panel-based or roll-to-cut production.
- Main reason for upgrading: Mention whether you want less waste, faster finishing, better contour accuracy, fewer manual adjustments or a more flexible print-and-cut workflow.
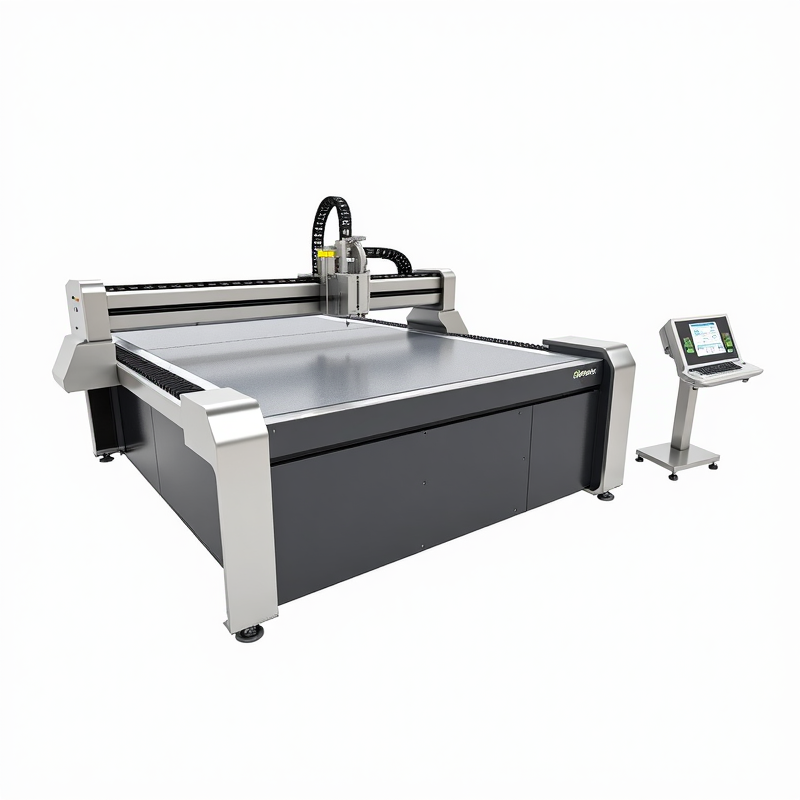
JEKE’s large visual cutting machine positioning on the homepage is especially relevant for printed fabrics and materials that need camera-based path generation. Buyers can also review JEKE’s camera positioning cutting machine guide for the broader print-and-cut workflow, the application materials page for flexible material scope, and the digital cutting machine category for mixed-material cutting options.
If your factory is producing sublimation apparel, printed textile panels, labels, patches or advertising fabrics, contact JEKE with your printed sample and cutting file. A real material test will give a safer answer than choosing by machine name alone.
Key takeaways
A CCD camera cutting machine is useful when printed fabric needs accurate alignment between the printed image and the cutting path. It helps correct the real position of the material before cutting, which is essential for sublimation panels, patches, labels, apparel graphics and other contour-sensitive products.
For printed fabric buyers, the main decision is not simply “camera or no camera.” It is whether the full workflow can handle the material, recognize the print, hold the fabric, correct the path and cut the edge cleanly.
CCD knife cutting is worth considering when buyers want no burnt edge, less heat effect and more flexibility across textiles and other flexible materials. CCD laser cutting may still fit some workflows, but the edge result and material behavior should be tested first.
Before purchasing, send JEKE your printed material, cutting file, alignment requirement and production target. The right sample test can prevent a costly mismatch between machine capability and real print-and-cut production.